
Here’s How to Install WordPress Manually to Make Sure Your Site is Safer & More Secure
WordPress is the most popular CMS (Content Management System) used around the globe, and according to W3Techs statistics, WordPress usage covers more than 60% of all total websites that use CMS.
WordPress is popular because of its easy user functionality and installation process. Installing WordPress is quite simple and can be done within few minutes. Usually, all hosting providers offer script installers like Softaculuous, which install on your behalf.
Though, if you’re an advanced user who cares more about security and wants to install on your own instead of using a script installer, then you’re reading the right blog. Here, we’ll discuss how to install WordPress manually through cPanel.
To manually install WordPress, you’ll need to go through a three-step process:
- Upload a downloaded WordPress file to your server.
- Database creation and linking.
- WordPress installation.
Manually Install WordPress Using cPanel – Step by Step Instructions
Assuming you have access to cPanel, you’ll need to follow the steps below.
Now, let’s get into details and understand how to install WordPress manually.
Download & Extract WordPress Package
Go to the WordPress site and download the latest WordPress package. Now, upload the downloaded WordPress files to your hosting server from the cPanel File Manager.
Uploading WordPress Zip Archive Through cPanel File Manager
- Login into the cPanel account. However, if you cannot access or find cPanel login details, contact your hosting provider to know the details.
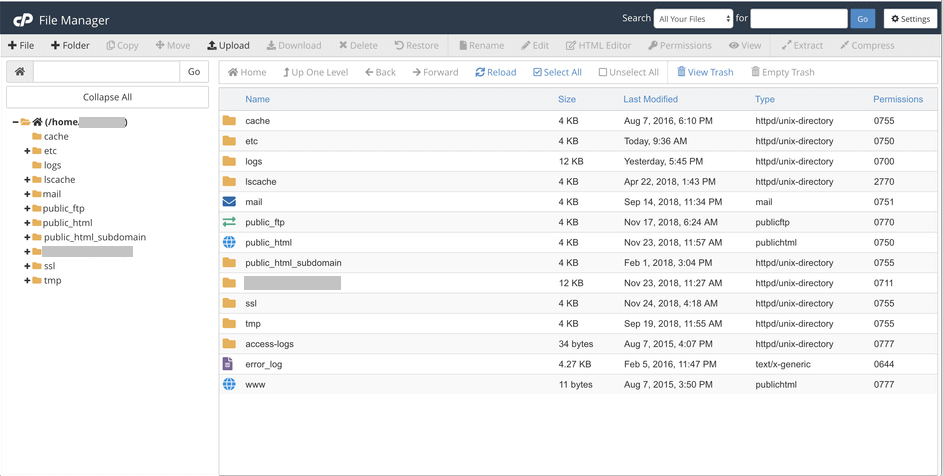
- Locate and open File Manager under the Files section in cPanel.

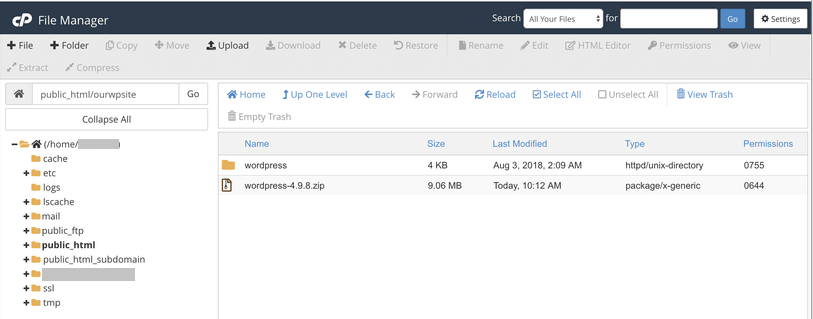
- Once you open File Manager, it’ll look like this:
Install WordPress in the Root Directory
Assuming you’re hosting one domain on your hosting account. You’ll install all the WordPress files into their root directory called the public_html folder. It’s the folder where all website files are kept that are available to everyone publicly through your website.
In other words, once you purchase and link your domain name with your hosting account, then all the content of your website becomes available in the www directory that’s also called the public_html folder. However, you can create another folder, but to access the file, you’ll have to type that folder name with the URL such as https://www.YourDomainName.com/AnotherFolder. (Here, the folder named AnotherFolder is created where all the website files are kept.)
Upload & Extract
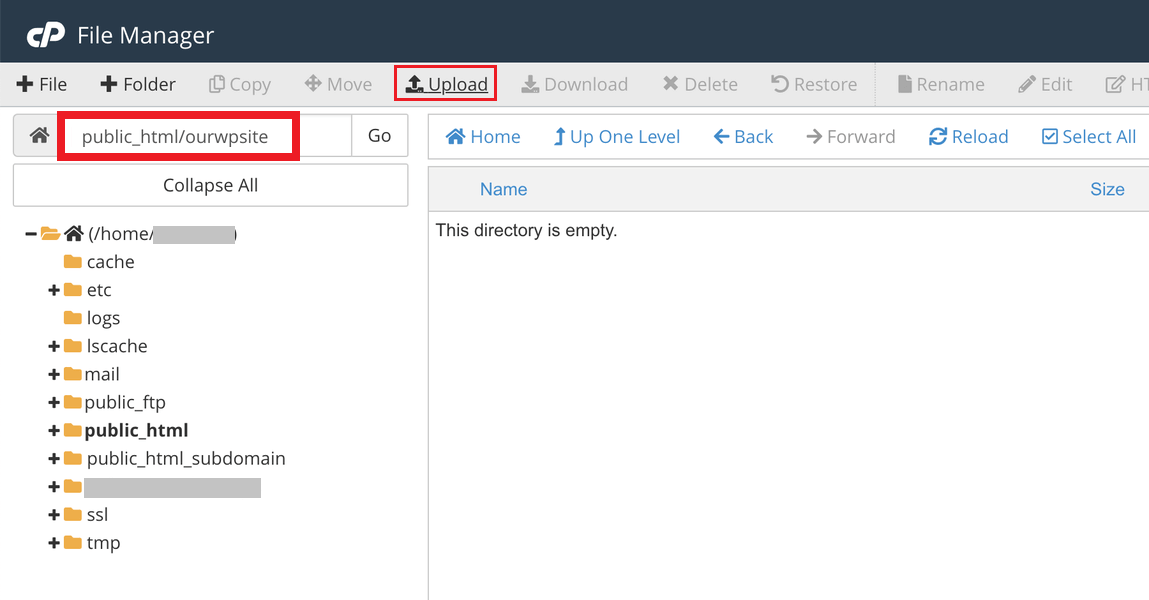
- Once you open the root directory (public_html folder):
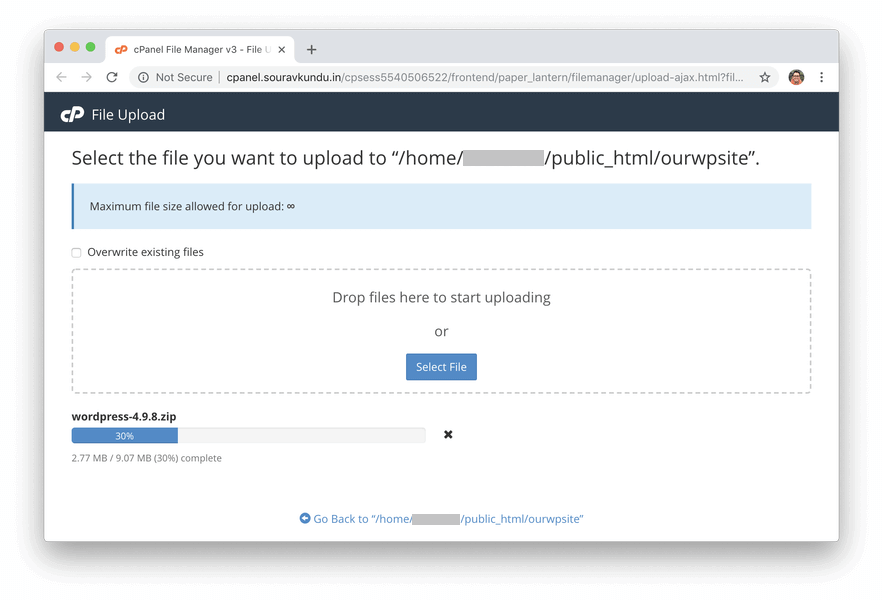
- Click on the Upload button, locate that recently downloaded WordPress zip file (WordPress-5.6.2 is latest at time of writing) and upload it.
- Once that zip file is uploaded, close the tab and go back to File Manager. You should be able to see that uploaded zip file within the directory, and if it doesn’t show, click the Reload button in the File Manager.
- Click on the uploaded zip and click on the Extract button without making any change to the directory.
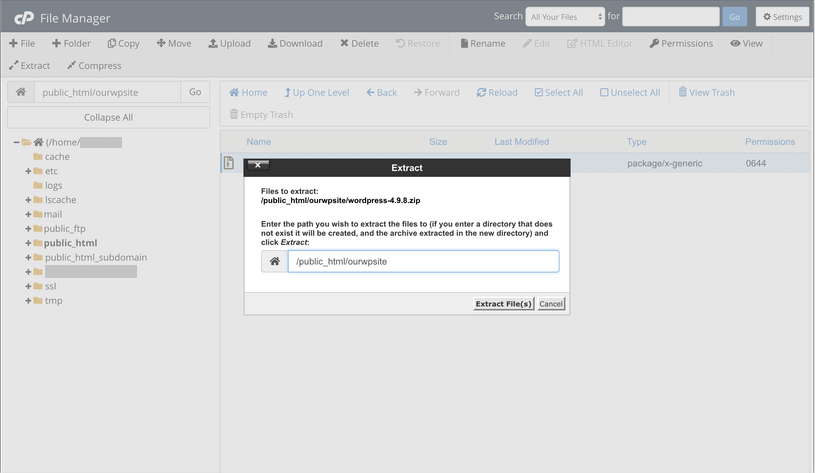
- Once the extraction is complete, click the Reload button, and you should see a folder named WordPress.
Move Those Extracted Files Into Root Directory
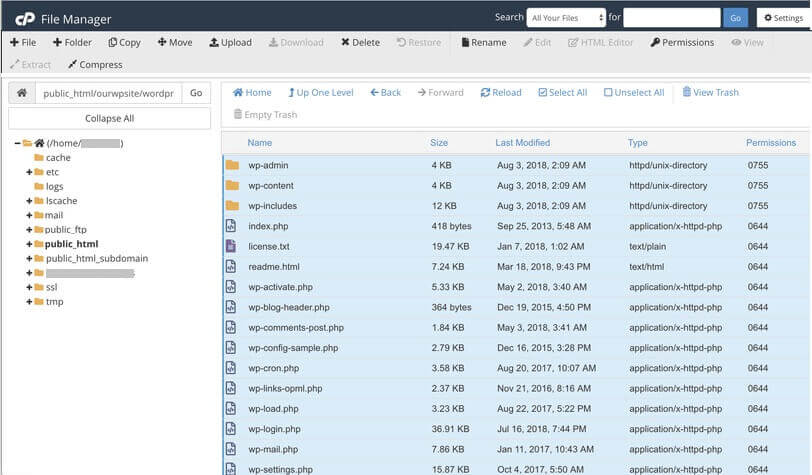
- Open that WordPress folder and select all those extracted files and click on the Move button.
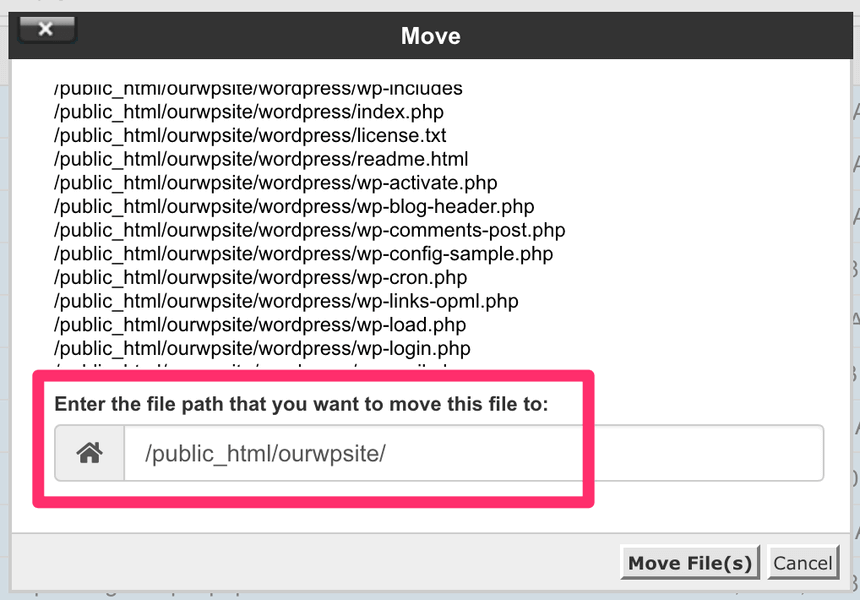
- Now, click the Move button at the top. Pop-up will ask in which folder you want to move your files. For instance, If you’re going to move it into the root directory (public_html), then remove the folder name that appears before the front slash (/) and then click the button Move File(s).
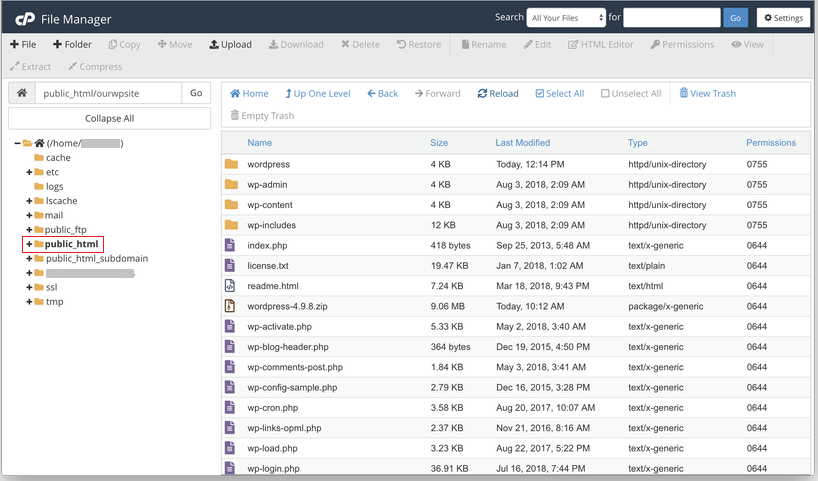
- Once all the files are moved into the root directory, the present WordPress folder will be empty. Thus, come out of that folder, and you’ll see all the extracted files along with that WordPress folder and WordPress zip file.
- Select that empty folder “WordPress” and also the WordPress zip file and delete it by clicking the Delete button at the top.
Database Creation & Linking
For functions such as logging into the admin panel, posting a blog post, installing plugins & themes, and dynamically generating HTML pages, WordPress requires a database. At the basic level, WordPress uses SQL database and PHP to store all the data. Nonetheless, we’re installing WordPress manually, so it’ll be our job to create and link a database with WordPress.
The below-mentioned process shows how to do this:
- Create a new database using MySQL via cPanel
- Create a new database user
- Connect new database and user
Create a New Database Using MySQL via cPanel
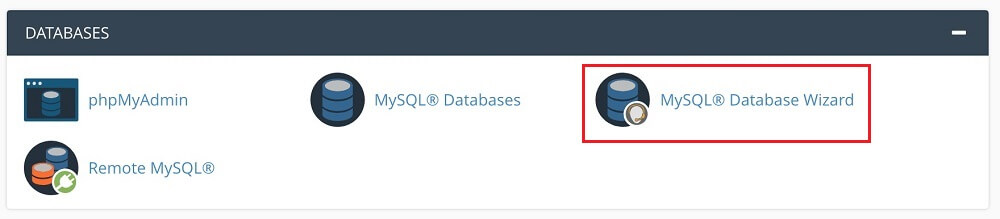
- Login to your cPanel and select MySQL Database Wizard under the Databases section.
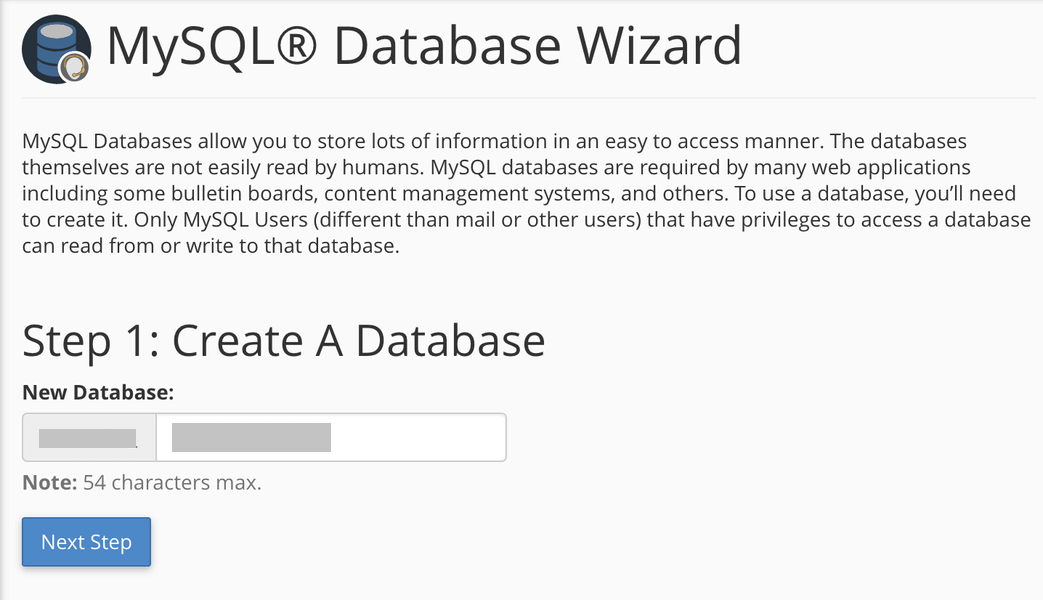
- Once MySQL Database Wizard opens, give a unique and hard-to-guess database name. It’s recommended you make use of alphanumeric characters for a database name to make your database secure.
Create a New Database User
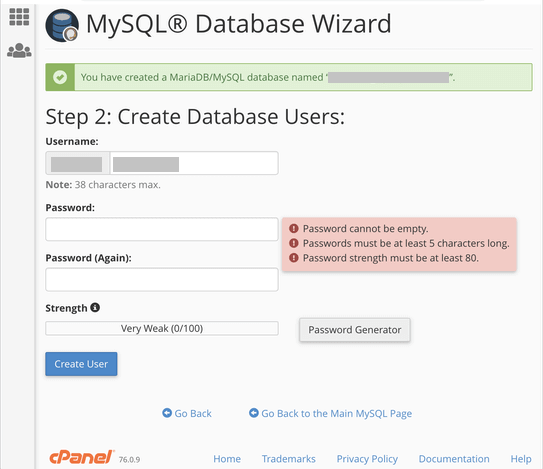
- Now, click on Create User button.
- Note: You’ll need to enter the database username and password later. And it won’t be your WordPress dashboard admin username and password.
Connect New Database and User With Each Other
- Once you create a new database user, your next step will be to connect it with the recently made MySQL database and all the permission to access the database. For that:
- Click the ALL PRIVILEGES checkbox and grant all the permissions. Then click the button Next Step. Now, cPanel will make all the mandatory changes according to the direction of the user.
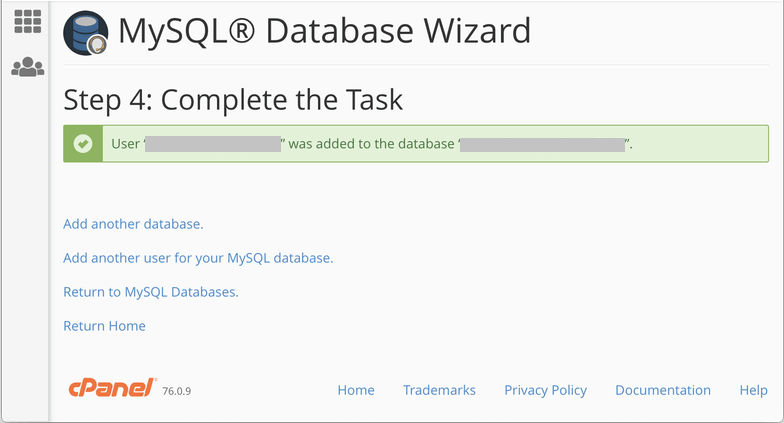
- Once you complete the steps mentioned above, the final step of manually installing WordPress is all that’s left.
WordPress Installation
In this step, you’ll get the answer to your long-awaited question of how to install WordPress manually as now you’ll run that famous five-minute WordPress installation.
Through your domain (not cPanel), go to your WordPress directory. For instance, if you’ve extracted and moved WordPress folder content into the public_html folder (root directory), simply type your domain name in your browser’s address bar.
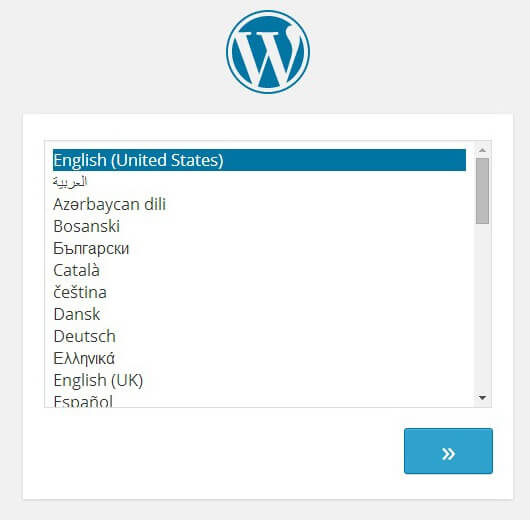
- If you’ve accessed the correct WordPress URL in your browser, you’ll be prompted with a WordPress setup page asking you to select your Language. Depending upon your preference, select Language and click on the Continue button.
- After you complete the above step, the message is displayed: “Welcome to the famous five-minute WordPress installation process!” along with a section asking for information that you’ll be required to fill in:
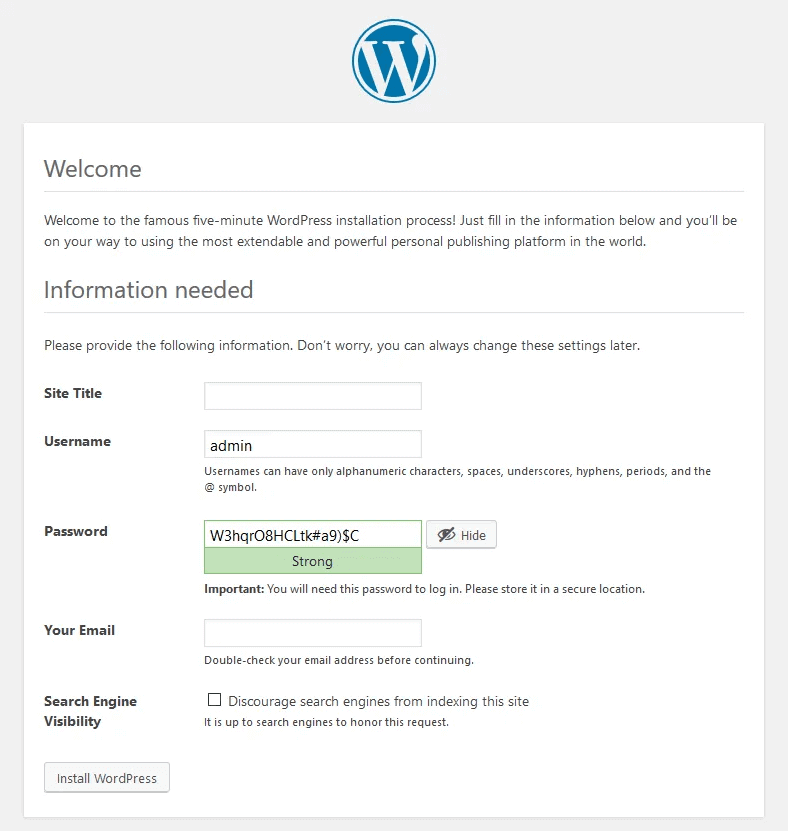
- Site Title – Name of Your Website
- Username – Here, you’ll enter the username that you’ll use to access the WordPress admin dashboard, and it has nothing to do with the database username that you created in the earlier steps. Also, it’s better that you choose a username that’s not easy to guess.
- Password – Here, you’ll need to create a strong password. To make a strong password, you use a combination of upper-lower case alphabets and numbers and a special symbol. Similar to the username, this password will also be different from your database password.
- Your Email – Provide the working email address to get your login information.
- Search Engine Visibility – Select this checkbox if you want your site to remain hidden from popular search engines like Google. However, if you want your site to get indexed by Google, then leave it unchecked.
Once you enter the information mentioned above, click on Install WordPress button and it should complete the process and install your WordPress successfully. Meanwhile, you get greeted with the WordPress has been installed page like below:
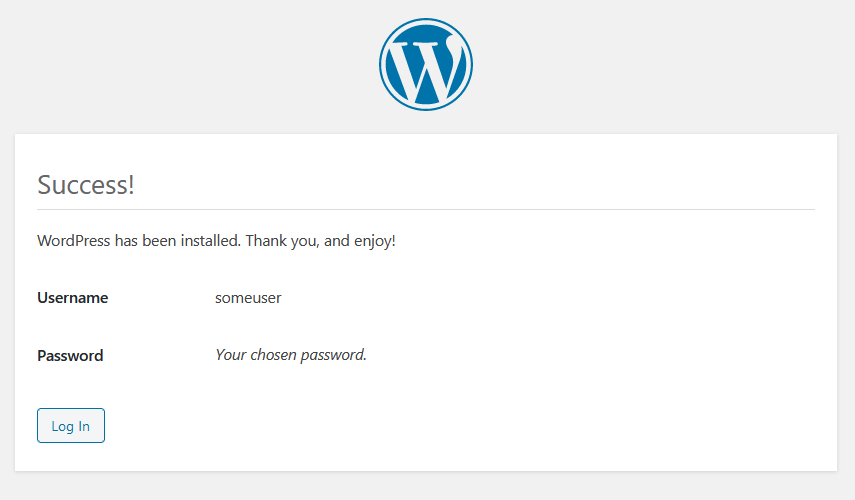
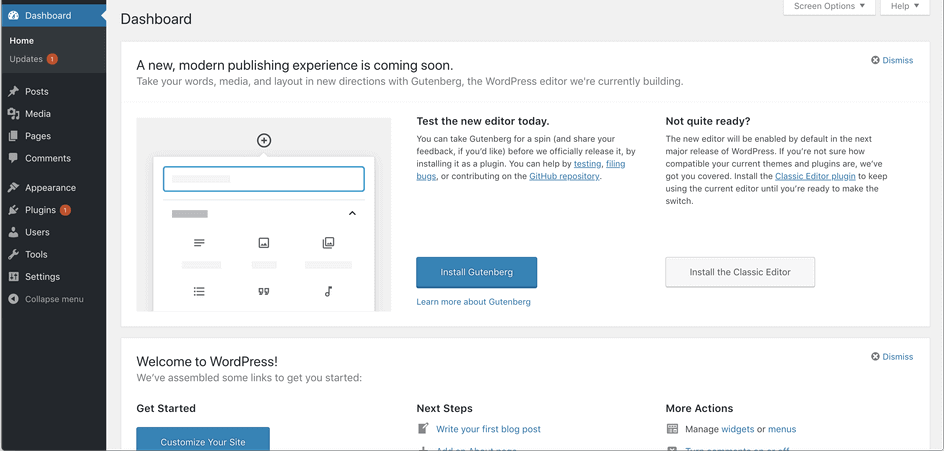
- Now, click on the login button, and you’ll get the WordPress admin dashboard like:
Wrapping Up
If you’ve gone through the previously mentioned steps without any mistakes, then you’ve answered how to install WordPress manually. However, other options are available such as installing WordPress through a script installer like Softaculous. But, among advanced users, this manual WordPress installation is more popular. If you were wondering how to install WordPress manually, we hope this quick guide has helped you achieve it.
Now it is time to get your website rolling, creating copy for your products or services, uploading images and videos, trying new themes and plugins, and so much more. Best of luck!